
I keep busy. Sadly, while I do keep busy, I don’t keep busy with a lot of new stuff worth blogging about. But I do have something now.
A short while back I ordered an MT32-PI from LegacyPixel. It is basically a Raspberry Pi 3A+ that has a “hat” added from the MiSTer FPGA project. The MiSTer FPGA is a hardware “recreation” of ancient 70s and 80s era personal computers, game consoles, and even Arcade games. But that isn’t the topic of this post. The MT32-Pi is.
Long ago, in the 80s when Personal Computers were still in their infancy, Sierra Entertainment made a few popular lines of games. One of the key features was their sound tracks. And one of the key features of their sound tracks, and thus their games, was the ability to play via MIDI to the Roland MT32 music synth module.
The games could use a number of audio sources, the PC Speaker, the Adlib and Sound Blaster PC Sound Cards, Tandy / PC jr 3 Voice Sound, and the Roland MT32. It was this last, the MT32, that was the top of the line audio source for games. It was supported in many Sierra games, because it is what the music composers used when composing the sound tracks. And it really sounds excellent.
The MT32-PI can emulate the Roland MT32 using MUNT and work with all those games. It also has a SoundFont engine called FluidSynth. So it can be a Roland SoundCanvas SC-55, too, which many other games support. Any other kind of SoundFont can be used too.
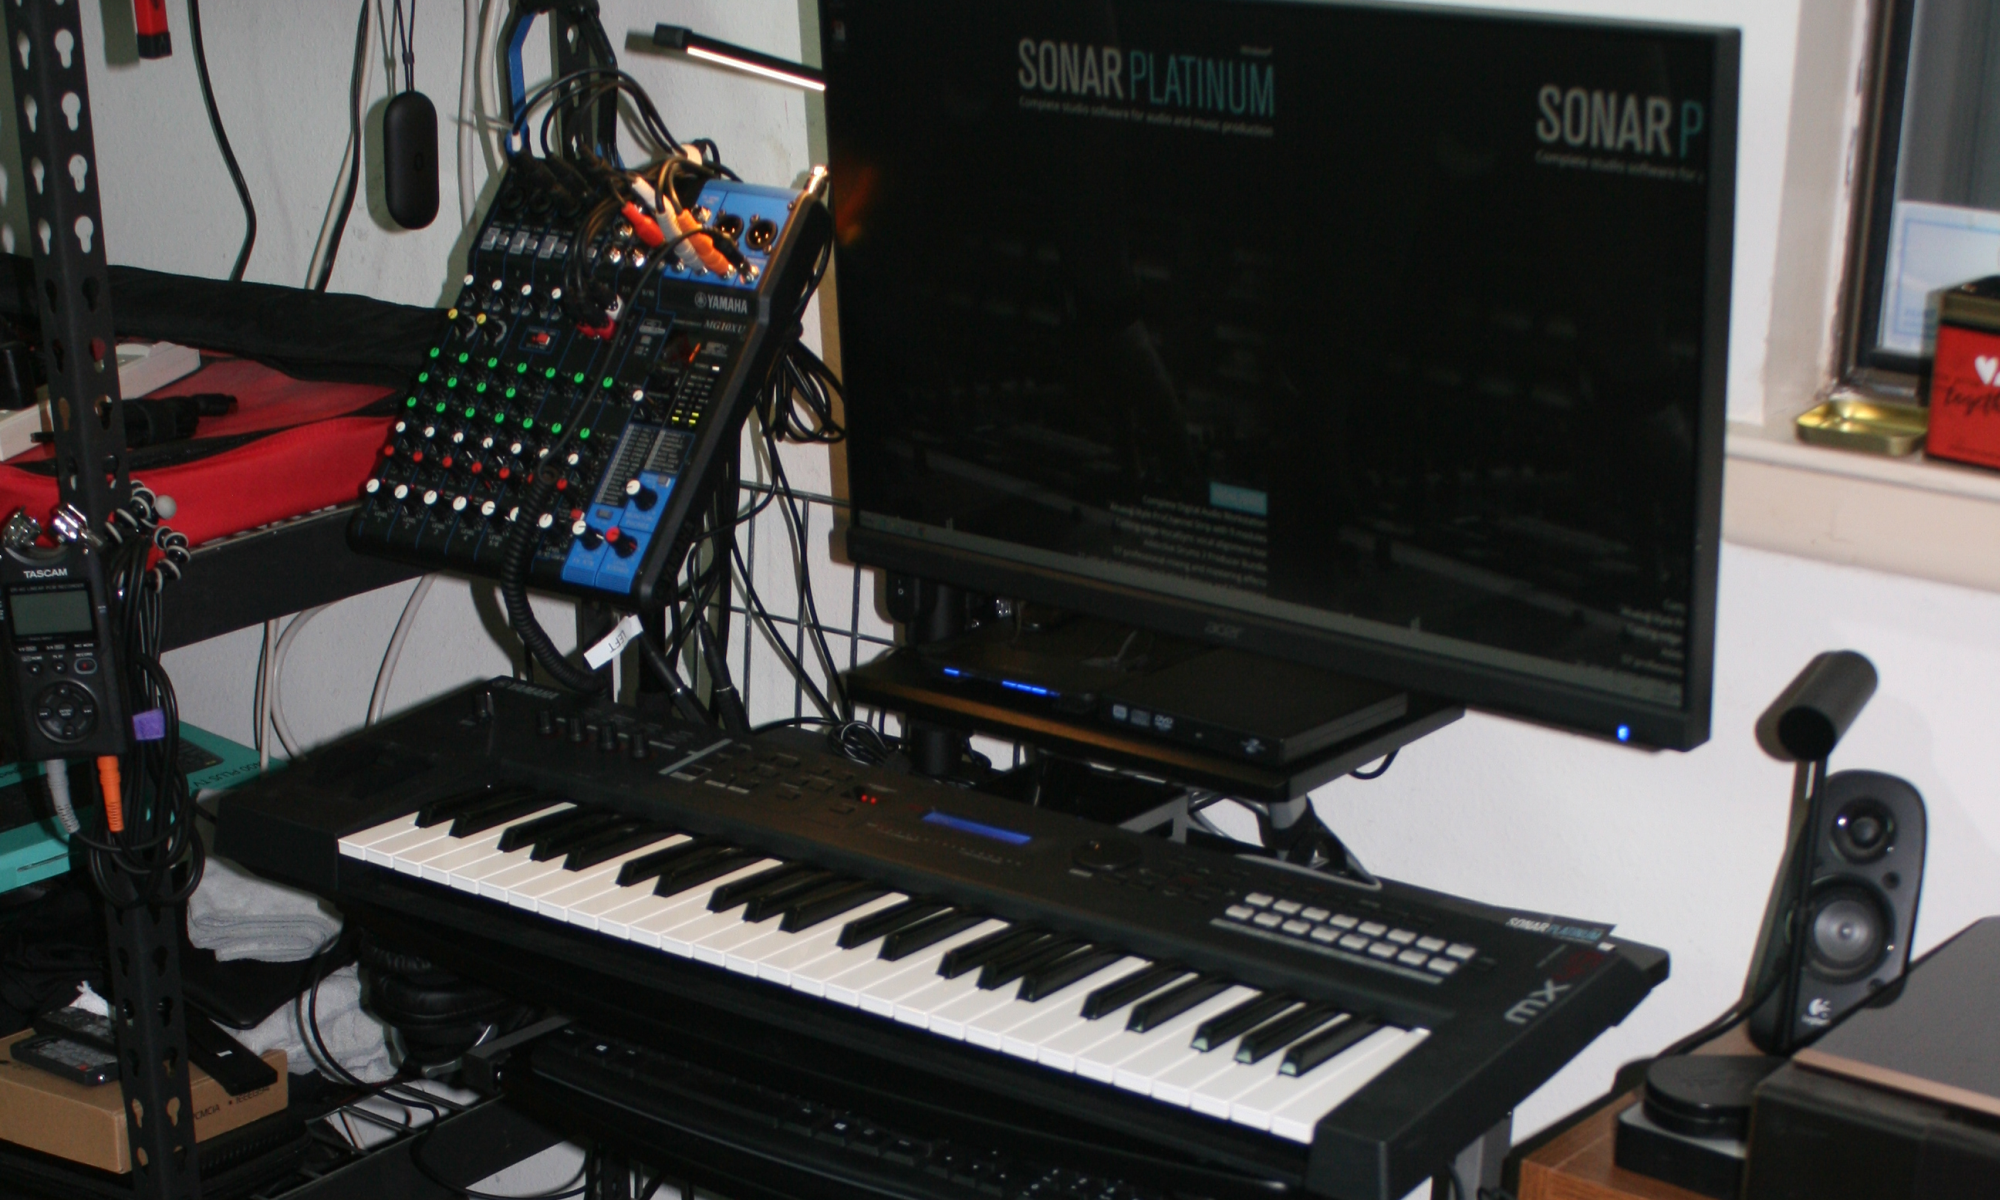
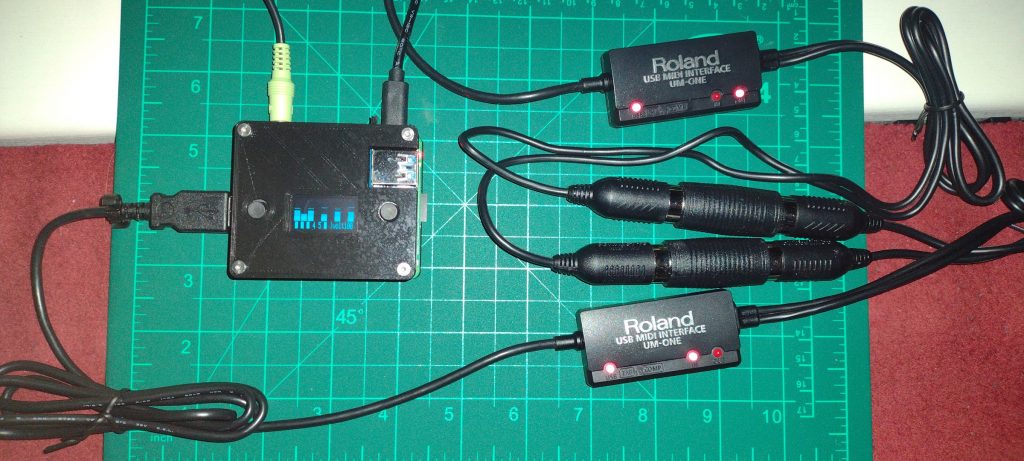
The first thing I needed to do was get more Roland UM-ONE mk2 USB to MIDI cables/adapters. I patched it into my PC and fired up the DAW software and tested the sounds. Now a word of note here, the 3.25mm stereo jack on the Raspberry Pi is noisy (it might have something to do with the video signal in the same jack).
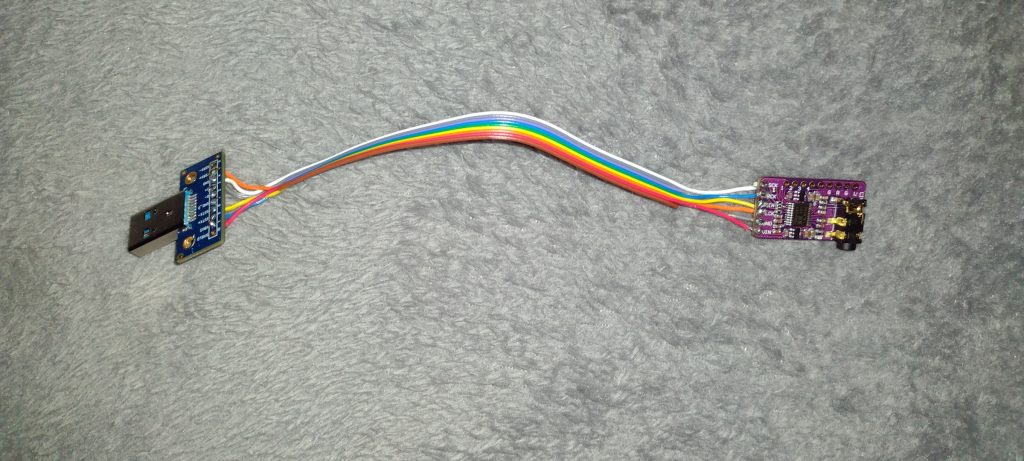
This worked really well, despite the somewhat rocky sound of The Pi. I ordered a GY PCM5102 DAC board to get clean audio (based on recommendations of the developer of the MT32-Pi hat). I realized I’d need a USB Side connector too, so I ordered that and got it all soldered together. That USB Port isn’t really USB, but it uses the same USB 3.1 Type A connector.
The tiny wires I was using were too small for my auto-wire striper and manually stripping them broke some of the strands in the stranded wires. The solders are weak. I have a quarter size perma-proto perf board coming to finish this up properly.
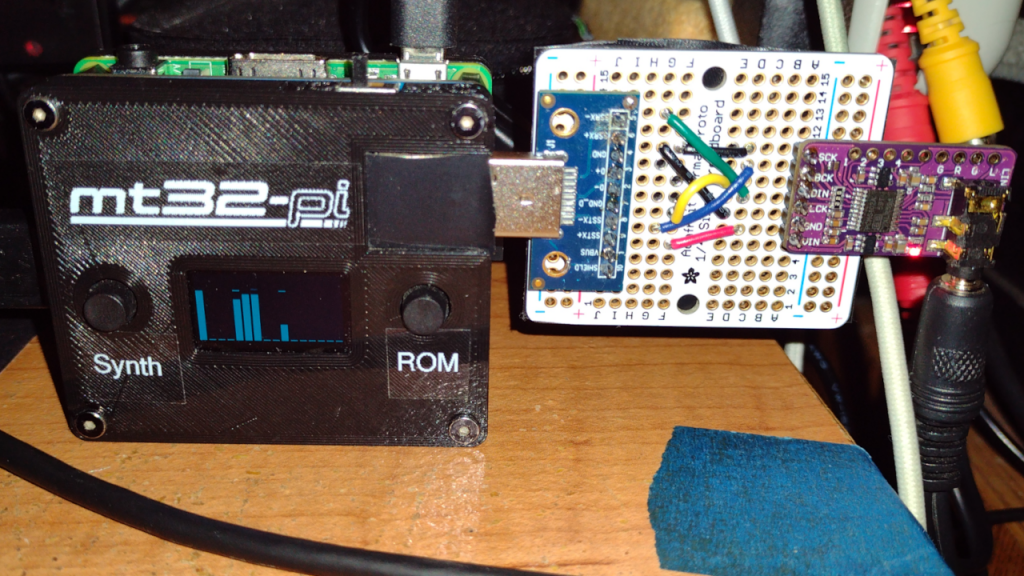
This little connector works, but it is delicate. I had to re-solder the wires on it a few times as critical leads (there are only six, they’re all critical) would “break loose.” Below is the MT32 tied to power and the connector. I don’t have it hooked to the PC and audio here, but you should get the idea. Oh and I got some nice labels on the MT32-Pi.
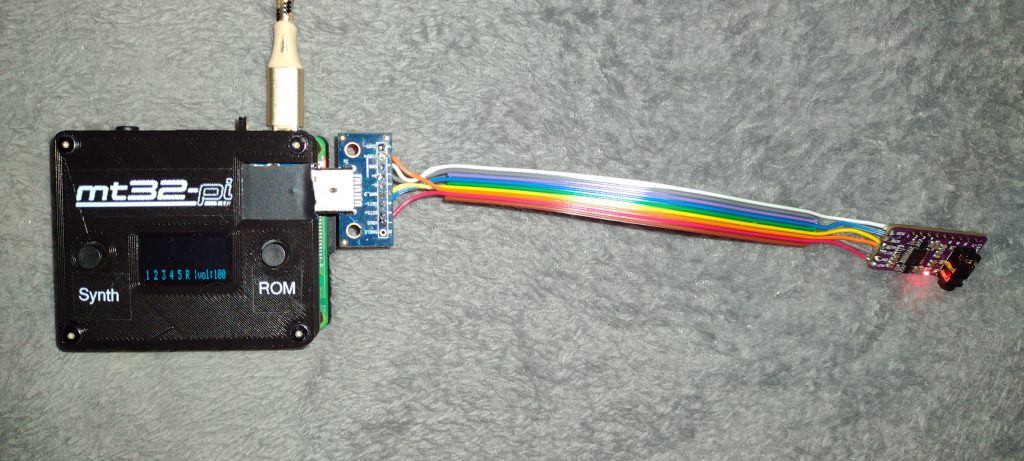
The new labels look reasonable good. I made them with my DYNO Label Manager. I got the mt32-pi label image from the project files on the mt32-pi github.
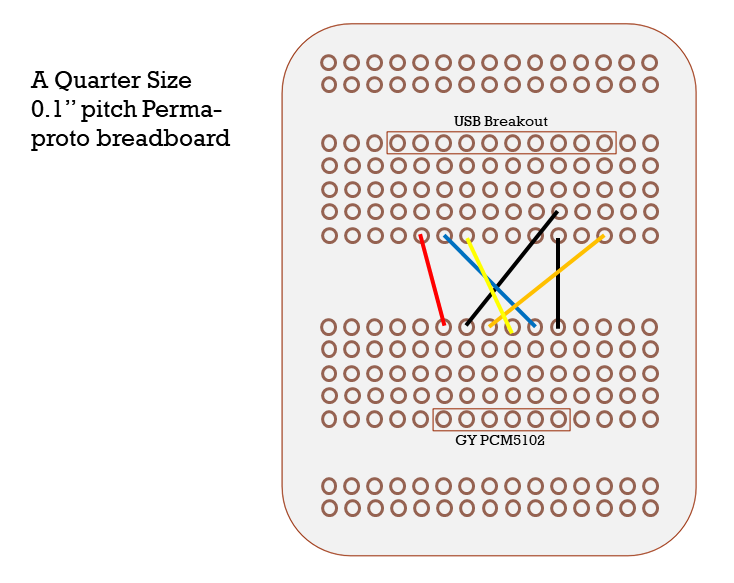
When I have the perf board completed I can update this post with an image of that. It will have “header pins” to connect the board to the DAC and the User Port connector, then some solid core wire to make the connections between the them. Solid Core will be good since they won’t be bending all over like the loose ribbon cable. The solid core wire connections will be cleaner to solder with too.
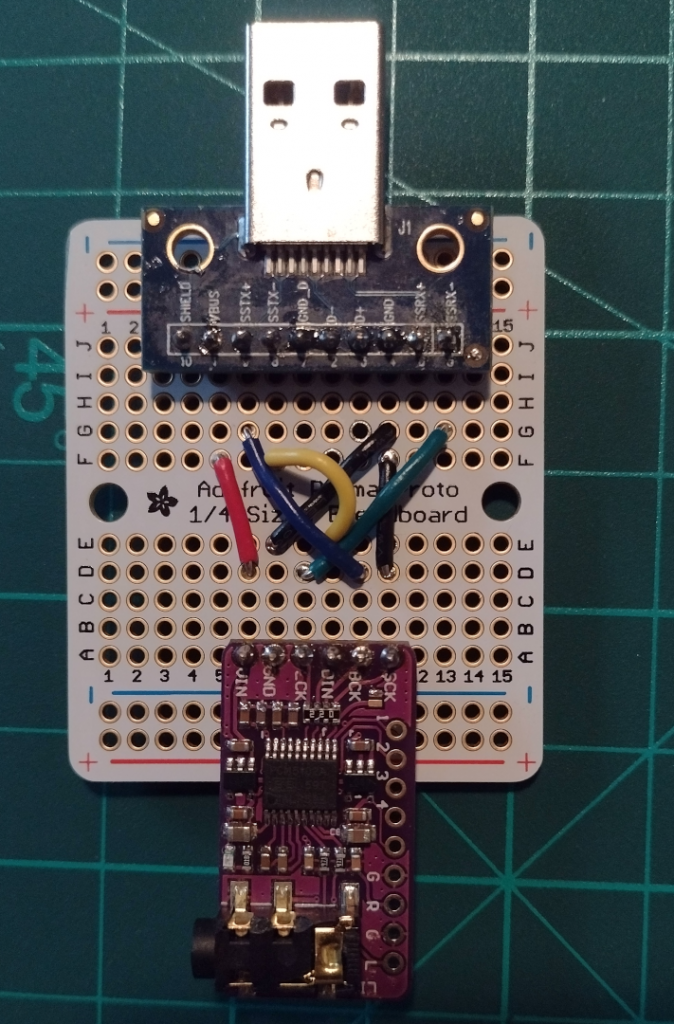
Here is a diagram to help wire up the proto-board:
Photos of the finished proto-board project: